AIRSONIC – STREAMING SERVER
LINUX CENTOS 8.3

Configuration and connection Linux 8.3 with Airsonic – Streaming Server
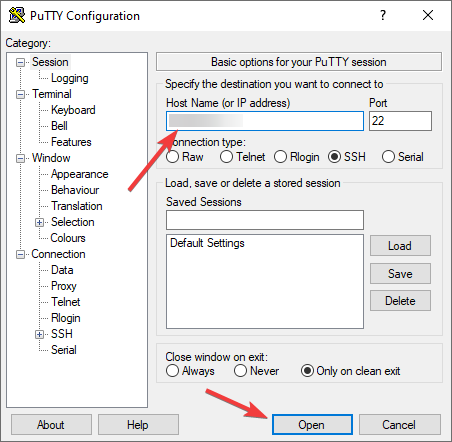
- Use the PuTTY program (Download and run Putty) to work with the server
- Run the PuTTY program, then enter the virtual machine address in the “Host Name (or IP address)” field and click “Open” to connect
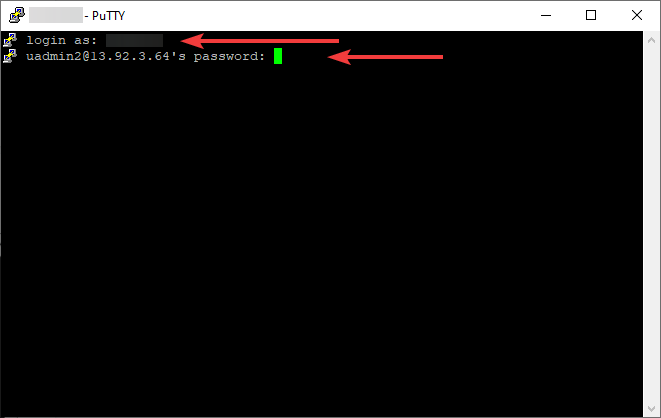
- In the console that opens, enter the username and password that were specified when creating the machine
- Create a folder where we will upload the music. To do this, enter the command
> cd /var
> sudo mkdir music
And a command to go to the created folder
> cd music
- Now you can upload audio files to this folder. Files should be grouped into folders as follows:
music/%artist_name%/%album_name%
Therefore, we will create several folders with the following command (inside the music folder):
> sudo mkdir -p artist/album
and go to this folder with the command:
> cd artist/album
- To download a track via a direct link, you can use the following command (while inside the album folder)
> sudo wget -O %file_name% %link_to music%
For example:
> sudo wget -O Omen.mp3 ‘https://drive.google.com/uc?id=1kaj9cpLcgwcu0hPp6N2cUE8cIzoWM31t&export=download‘

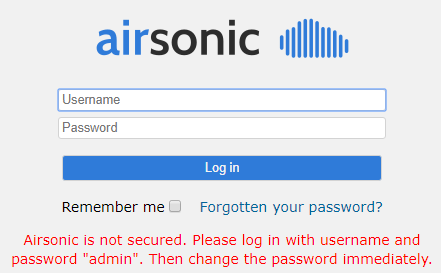
- After starting the VM, you can go to the main page. To do this, go to the following address http://*vm_ip*:8080
- The authorization page will open. To log in as an administrator, use the username admin and the password admin.
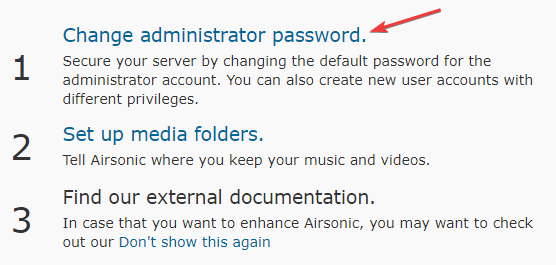
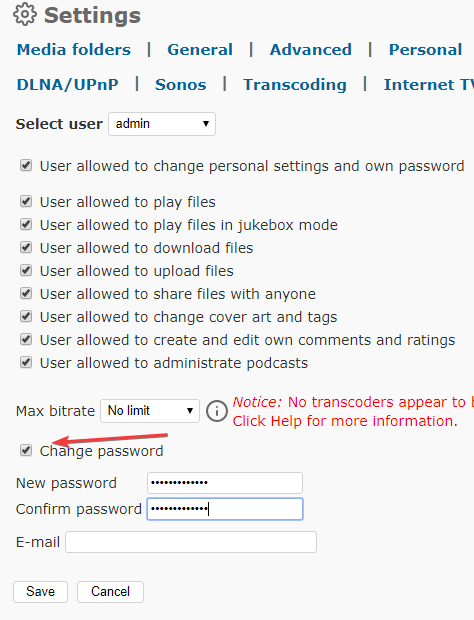
- After authorization, the main page will open. First of all, it is recommended to change the password for the account. To do this, click on “Change administrator password”
- Check the box next to “Change password”, and enter the new password in the “New Password” and “Confirm Password” fields.
- Now you need to scan the folder for added files. To do this, go to settings, and click the “Scan media folders now” button.

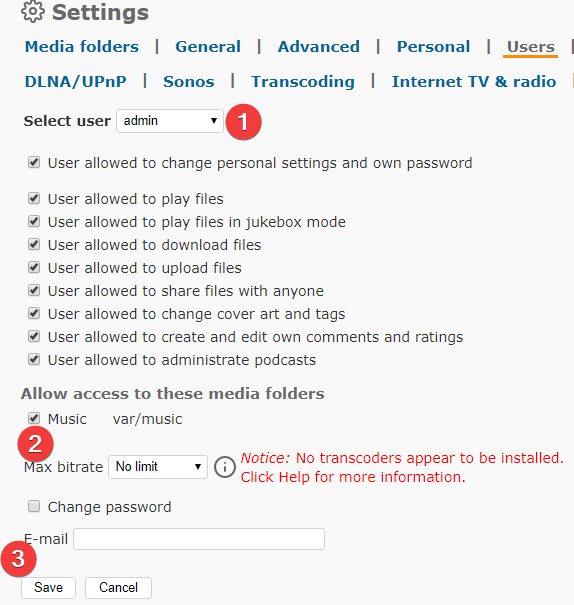
- Also, permit the user admin access to the folder where we downloaded the music. To do this, go to the settings in the “Users” section.

- Select the “admin” user, check the box next to the music folder, and press <Save>.
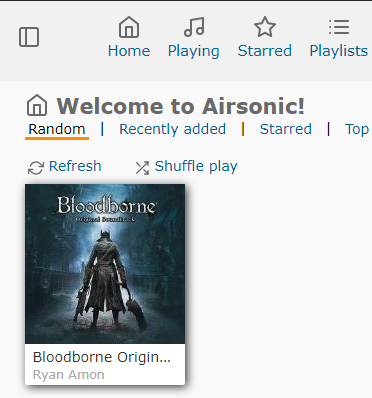
- If you did everything right, then on the “Home” page your tracks should appear, which you can play directly from the browser (if the prompt is still displayed, then just click on “Don’t show this again” in the third paragraph.
- More information on setting up and working with Airsonic can be found here.
First start guide
