Ubuntu 20.04 LTS
OpenSSH FTP Server

The guide on how to connect to SFTP – OpenSSH FTP Server on Ubuntu 20.04 LTS
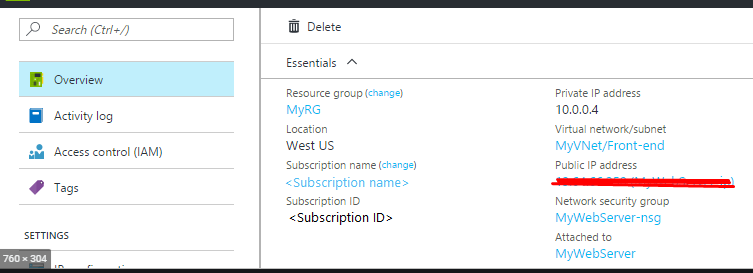
- After purchasing the virtual machine, find the IP address of your VM in the personal account in Azure.
- To connect to the virtual machine, you can use the PuTTY client
(you can download it from the official site: https://www.putty.org/). When the app is started, you will see the following window:

- In the “Host Name (or IP address)” field, you should enter the IP address of the virtual machine from the personal account in Azure. In the “Port” field enter the 22 value, select the “Connections type” – SSH and click on the “Open” button.
The following window will be opened:

- In the window above, you should enter the login and password of the user of the virtual machine
(while typing the password, the data isn’t displayed!).
The examples of the basic FTP user management command that can be entered after connecting to the PuTTY client:
The creation of the user:
sudo addsftpuser
Attention: The password has to be a maximum of 8 characters. If you enter a password with more than 8 characters, it will be shortened. While entering a password in the FTP client, only the first 8 characters will be taken.

Then you need to copy the key. Enter the next command for that:
> sudo cat /sftp/privatekeys/username_key.pem
Instead of “username” insert the name of the created user.

Copy the key and save it in any text editor with the .pem extension.
The examples of the basic FTP user management commands that can be entered after connecting to the PuTTY client:
The changing of the password for an existing user:
sudo passwd username
The deletion of the user:
sudo delsftpuser
The blocking of user account: (works only for password login)
sudo usermod -L username
The unblocking of user account:(works only for password login)
sudo usermod -U username
You can find a directory with users along the path /sftp/data/home/
The FTP server itself is protected and ssh access and shell access are prohibited for FTP users but allowed for the superuser.
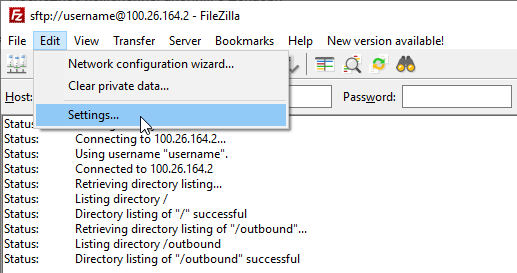
- To connect to FTP, it is recommended to use the “FileZilla Client” application (you can download it from the link: https://filezilla-project.org/download.php?platform=win64). When launched, the application looks like this:
- Go to Edit – Settings

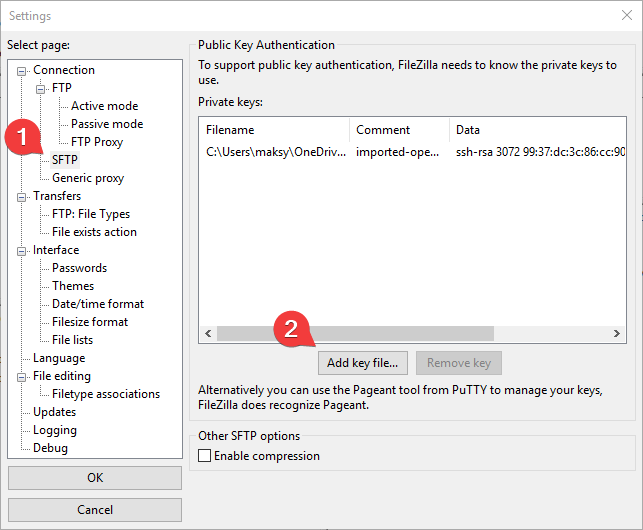
- Go to SFTP, click add a key file, select the file which you have saved before with the .pem extension, and click OK
- In the “Host” field, enter sftp://ipvm, where ipvm is the address of your machine in the personal account in Azure.
In the “Username” field, enter the user’s login to the virtual machine.
Field “Password” leave blank.
When the data is entered, click on “Quickconnect”.
You can disable the key login yourself, and then you will need a password, not the key.
For that, enter the next command:
> sudo nano /etc/ssh/sshd_config
Go to the very end of the file and change in the section Match Group sftpusers parameters:
PubkeyAuthentication yes
PasswordAuthentication no
AuthenticationMethods publickey
for the next:
PubkeyAuthentication no
PasswordAuthentication yes
AuthenticationMethods password
After making the changes, you need to restart the ssh server with the command:
> sudo systemctl restart sshd
Also, you will need to delete the key in the Filezilla client and enter the user’s password in the “Password” field.
Now you can easily use all the benefits of your own SFTP server.
