Ubuntu 18.04 LTS with TeamSpeak VoIP System Server
1. After purchasing and running a virtual machine, you must know its IP address. You can find it in your Azure account. (You need to select a virtual machine from the list. When you click on the “Browse” item, your IP is displayed in the “Public IP address” line).
2. To connect to the virtual machine, you need the PuTTy application to connect via ssh. You can download it from the following link – Download
3. Run Putty, enter the address of the virtual machine in the “Host” field and click “Open” to connect.
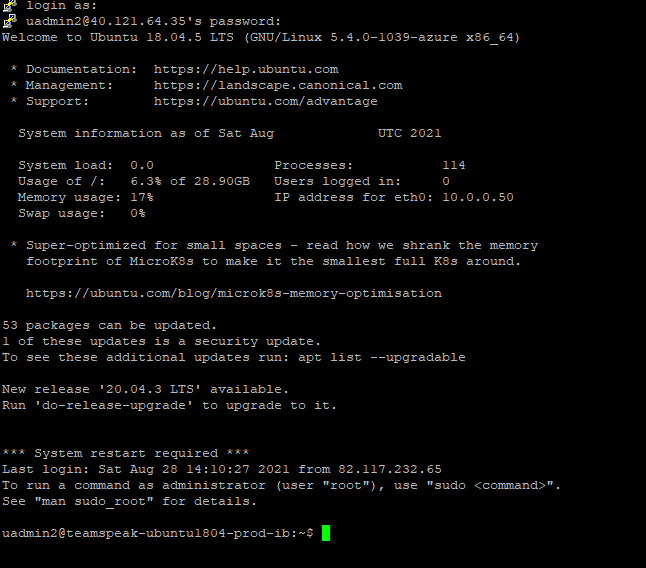
4. In the console that opens, you must enter the username and password that were specified when creating the virtual machine. Then press <Enter>

5. Launch the TeamSpeak application. You can skip the authorization by clicking the <Continue without logging in> button
6. In the next step, choose a name that other users will see.


7. Click Connections -> Connect

8. In the “Server Nickname or Address” field, enter the virtual machine’s IP address and click <Connect> to connect.

9. Done. You are connected to your server. Other users can join you using the virtual machine’s IP address.
