Icecast Streaming Server
Windows Server 2016

Configuring and Connecting to Icecast Streaming Server on Windows Server 2016
For the VM work, you need to open 8000 TCP port in the Azure firewall.
Connection to the VM
- To connect to the Icecast Streaming Server, you can either use a downloaded utility program from Azure or the built-in WindowsRDP service.

- When the IP address of your VM is specified, enter the username and password that were specified when creating the virtual machine.

Changing credentials, ports, and adding radios
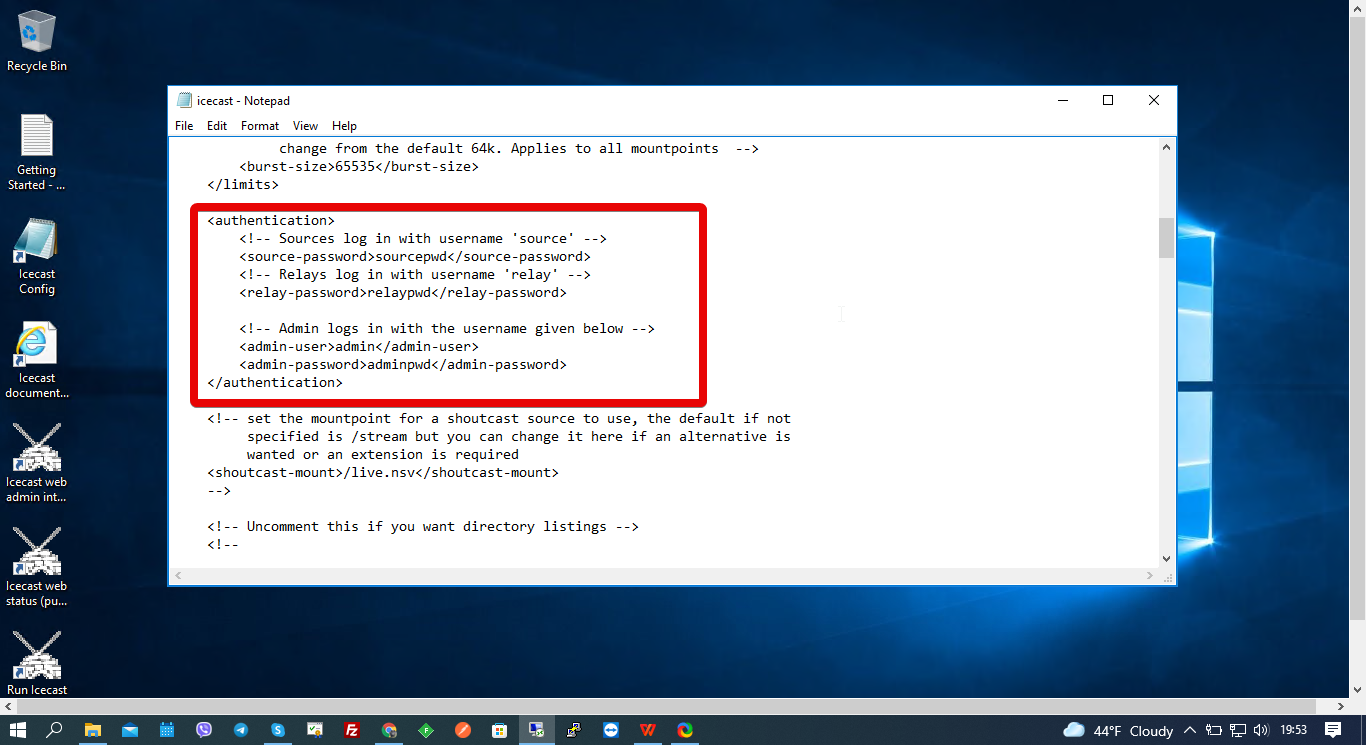
- To change the credentials, ports, and add radios, open the ‘Icecast config’ file.

- Go to the <authentication> section and change the values inside the <*** – password> tags. For example, change adminpwd to a new password.
- In the <listen-socket> section, change/add sockets.

- To add a test radio station, insert the following lines inside the <icecast> tag (but not inside other tags).

- Then, run the server by clicking the ‘Run Icecast (Console)’ icon on the desktop.

- The next window will be displayed.

- In the browser, enter http://”your_vm _ip:8000” For example, http://11.22.123.123:8000. Click on Administration in the opened window.

- In the opened window, enter:
Login – admin
Password – adminpwd
- The admin interface will open.

You can find more detailed instructions in the Documentation and Information — Icecast
