Gogs – Git Service Server
Windows Server 2019

Configuring and connecting to Gogs – Git Service Server on Windows Server 2019
- After purchasing and starting the VM, you should know its IP address. You can find it in your personal account on Azure. (You need to select the virtual machine from the list. By clicking the “Overview” tab, your IP address is displayed in the “Public IP Address” line).

- You can create a DNS name. In the Azure admin, you need to go to the VM properties on the left the “Overview” section in it, on the right you need to configure the DNS name, the name will become, for example, “testgogs11.eastus.cloudapp.azure.com”. If you have your own DNS name, then you do not need to configure it.
- To connect to Gogs, you should open port 3000 TCP in the Azure network settings.
- Once the VM is purchased, you can connect to it using a downloaded utility program from Azure or through the built-in WindowsRDP service.

- When the IP address of your VM is specified, you should enter the username and password that were specified while creating the virtual machine.

- To start the Gogs, you should open the app on the desktop. (Important: you should run this file after each VM start!!!)

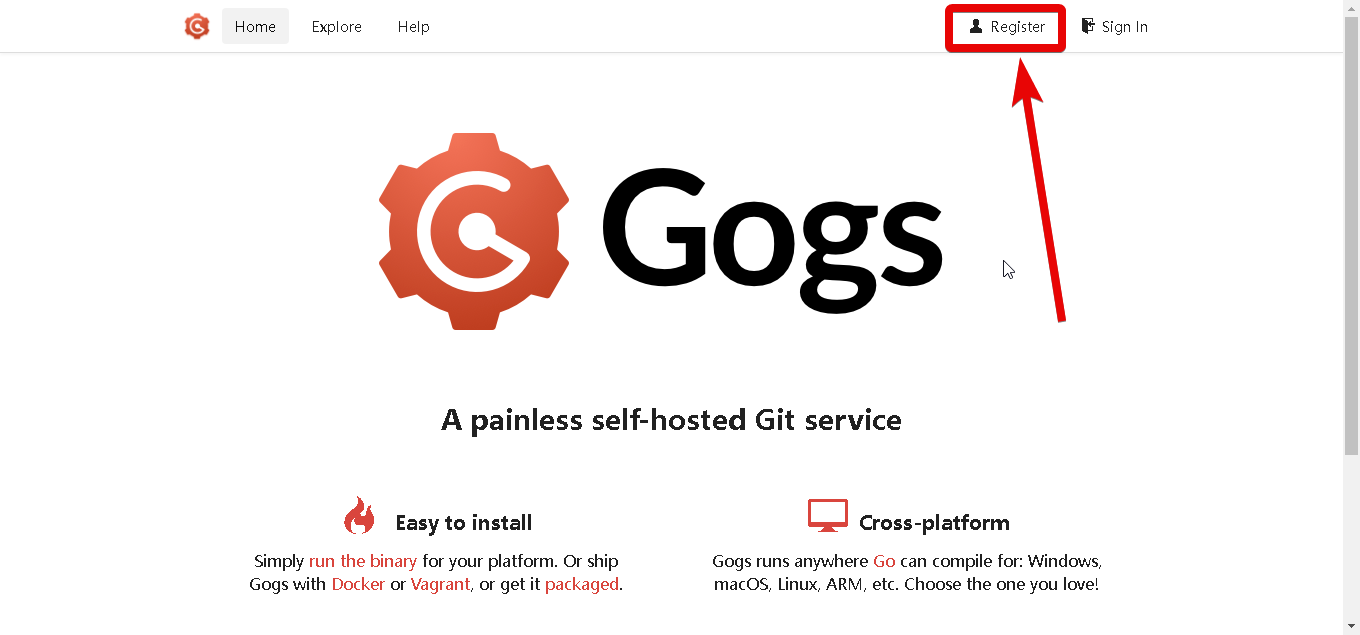
- Open a browser on your PC and go to the address http://domain_name:3000, where domain_name this is your VM IP or the address of your DNS name or DNS configured on Azure in step 2 (for example http://testgogs11.eastus.cloudapp.azure.com.com:3000). Click “Register” to create the first user who will receive administrator rights.
- Fill in all fields and click ‘Create New Account’.

- Then you can sign in as an administrator.

- Now you can configure your server and create new users using Settings tools


More detailed instructions can be found at: the Gogs
