Neo4j Graph Database
Windows Server 2019

Configuring and connecting to Neo4j Graph Database on Windows Server 2019
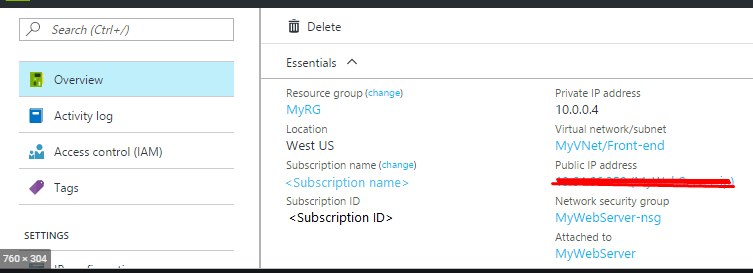
- After purchasing and starting the VM, you should know its IP address. You can find it in your personal account on Azure. (You need to select the virtual machine from the list. By clicking the “Overview” tab, your IP address is displayed in the “Public IP Address” line).
- To connect to Neo4j, open ports 7474 and 7687 TCP in the Azure network settings.
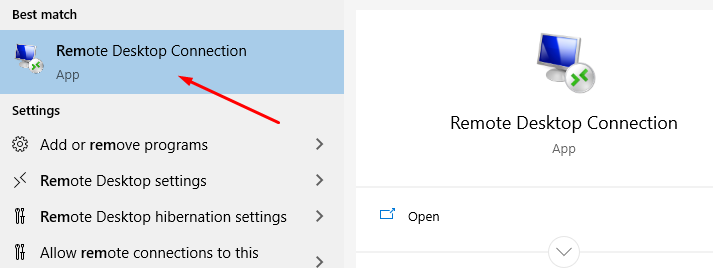
- After purchasing the VM, you can connect to it using a utility program downloaded from Azure or by means of the built-in Windows RDP service.
- When the IP address of your VM is specified, you should enter the username and password that were specified while creating the virtual machine.

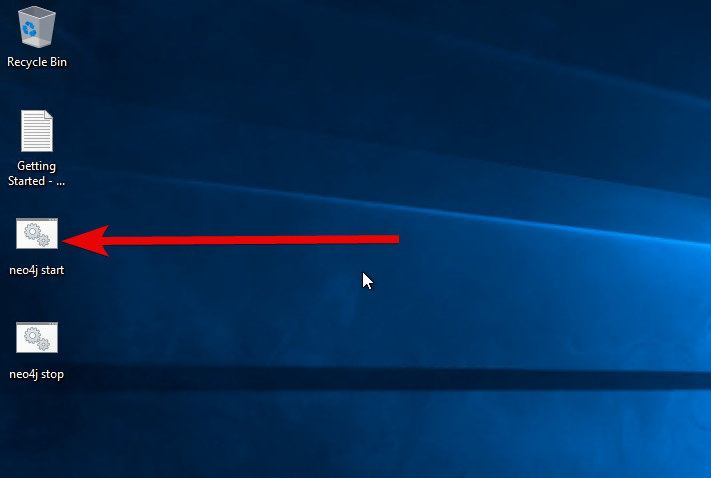
- To start the Neo4j, you should open the app on the desktop. (Important: you should run this file after each start of the VM!!!)
- Open a browser on your PC and go to the address of your VM, http://VM_IP:7474 (from step 1). In the opened window, choose ‘Connect URL’ – bolt://VM_IP:7687
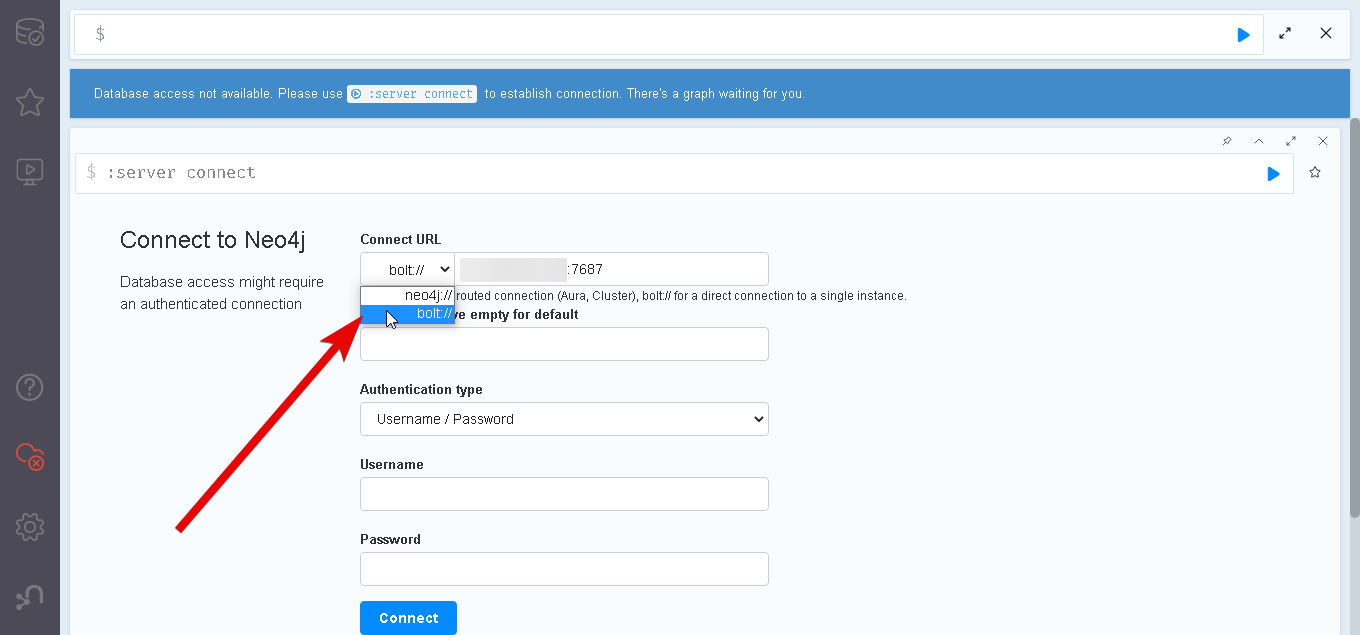
- Fill in username ‘neo4j’, and password ‘neo4j’ and click ‘Connect’

- After connection, you must change the password

- Now you can configure your server, create new databases, synchronize the Neo4j browser, etc.
More detailed instructions can be found at Neo4j Documentation
